

DIY Indigo Dyeing Techniques for Home Projects and Creative Fabrics
The Art of Indigo Dyeing at Home A Step-by-Step Guide
Indigo dyeing is a centuries-old tradition that has been practiced in various cultures around the world, including China. The deep blue hues created by indigo dye are not only stunning but also carry rich historical and cultural significance. For those interested in delving into this ancient craft, dyeing with indigo at home is a rewarding experience that can be accomplished with basic materials and techniques. This article will guide you through the process of creating your own indigo-dyed fabrics at home.
Understanding Indigo Dye
Indigo dye is derived from the leaves of the indigo plant (Indigofera tinctoria). Unlike other dyes, indigo is unique because it requires a reduction process to dissolve the dye, allowing it to bond with fibers when exposed to oxygen. The resulting color can vary from vibrant blue to soft navy, depending on the concentration of dye and the number of dips in the dye bath.
Materials You Will Need
To get started with indigo dyeing, gather the following materials
1. Indigo Dye Kit While you can source natural indigo from specific suppliers, a beginner-friendly indigo dye kit is practical. 2. Fabric Cotton, linen, or silk fibers work best. Pre-wash your fabric to remove any finishes or chemicals. 3. Gloves Protect your hands from staining. 4. Plastic or Wooden Utensils Avoid metal utensils as they can react with indigo. 5. Bucket or Dye Pot For the dye bath. 6. Water Clean, warm water for mixing. 7. Soda Ash or Calcium Hydroxide For the dye reduction process, depending on the dye kit instructions. 8. Rubber Bands or String For creating patterns on your fabric. 9. Plastic Wrap or Plastic Bag For sealing the dye bath.
Preparing the Dye Bath
1. Create the Dye Follow the instructions provided in your indigo dye kit. Typically, you’ll mix the indigo powder with warm water and a reducing agent like sodium hydroxide or calcium hydroxide. 2. Allow the Dye to Rest Let the mixture sit for about 30 minutes to an hour, allowing the dye to properly dissolve and reduce.
china indigo dyeing at home
Preparing the Fabric
1. Fold, Twist, or Bind Your Fabric Use rubber bands or string to create patterns on your fabric. Techniques like spirals, stripes, or even random binding can create stunning effects. 2. Wet the Fabric Pre-soak your fabric in plain water to ensure even dye uptake.
Dyeing Process
1. Dye Your Fabric Carefully immerse your bound fabric into the dye bath. Make sure the entire piece is submerged. The longer you leave it in, the darker the shade will be. 2. Oxidation Remove your fabric from the dye bath and let it oxygenate. As it is exposed to air, it will transform from a greenish hue to a vibrant blue. 3. Repeat as Desired For deeper colors, repeat the dipping and oxidation process multiple times.
Rinsing and Finishing
1. Rinse Your Fabric Once you achieve your desired color, rinse the fabric in cold water to remove excess dye. 2. Dry Hang your fabric to dry away from direct sunlight to prevent fading.
Conclusion
Indigo dyeing at home is a fascinating way to engage with an ancient craft that has significance in various cultures, especially in China. The process not only allows you to create unique and beautiful textiles but also offers a meditative experience as you watch the colors develop. Embrace the creativity and experimentation that comes with this art, and enjoy the beautiful, rich results of your handiwork. Whether you’re making gifts or personal items, the deep, vibrant blue of indigo-dyed fabric is sure to impress.
-
Sulphur Black Dyes in Daily Use
NewsMay.07,2025
-
Indigo Dyeing for Daily Life
NewsMay.07,2025
-
Indigo Dye Production and Its Growing Demand
NewsMay.07,2025
-
Color That Lasts
NewsMay.07,2025
-
Bromo Indigo for Modern Use
NewsMay.07,2025
-
Blue From Nature
NewsMay.07,2025
-
The Timeless Color in Fashion and Textiles
NewsApr.10,2025

Sulphur Black
1.Name: sulphur black; Sulfur Black; Sulphur Black 1;
2.Structure formula:
3.Molecule formula: C6H4N2O5
4.CAS No.: 1326-82-5
5.HS code: 32041911
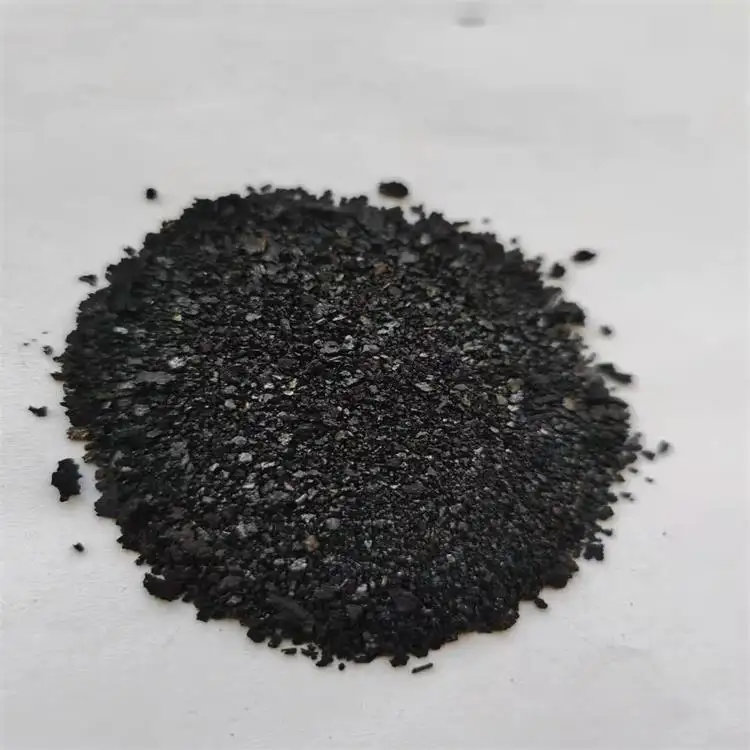
6.Product specification:Appearance:black phosphorus flakes; black liquid

Bromo Indigo; Vat Bromo-Indigo; C.I.Vat Blue 5
1.Name: Bromo indigo; Vat bromo-indigo; C.I.Vat blue 5;
2.Structure formula:
3.Molecule formula: C16H6Br4N2O2
4.CAS No.: 2475-31-2
5.HS code: 3204151000 6.Major usage and instruction: Be mainly used to dye cotton fabrics.

Indigo Blue Vat Blue
1.Name: indigo blue,vat blue 1,
2.Structure formula:
3.Molecule formula: C16H10N2O2
4.. CAS No.: 482-89-3
5.Molecule weight: 262.62
6.HS code: 3204151000
7.Major usage and instruction: Be mainly used to dye cotton fabrics.