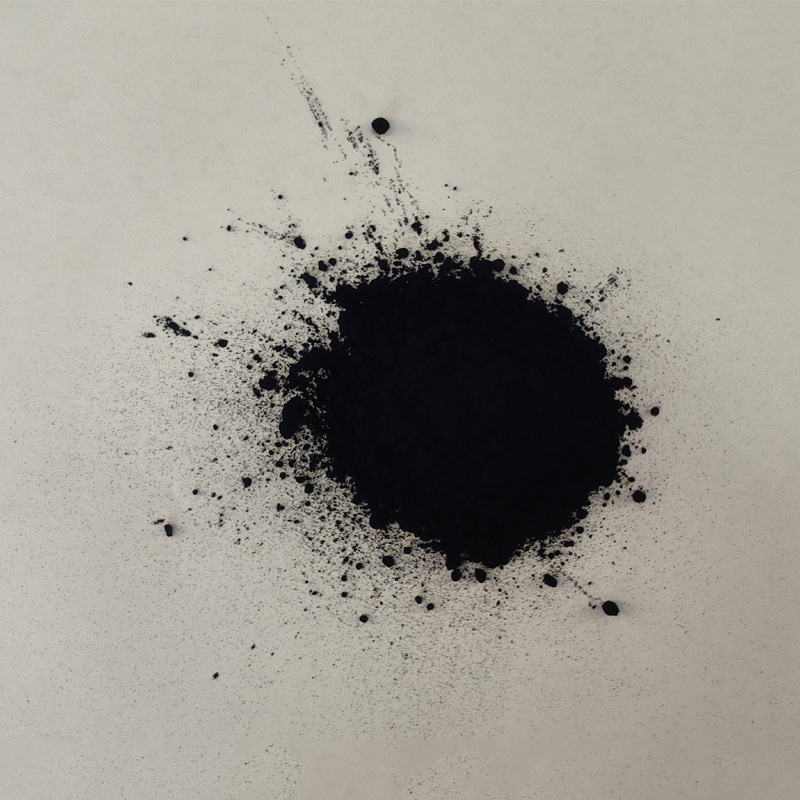
indigo dyeing at home
Indigo Dyeing at Home A Step-By-Step Guide
Indigo dyeing is an ancient art that has captivated people around the world for centuries. Known for its beautiful shades of blue, indigo dyeing offers a unique way to personalize fabrics and garments. If you're interested in trying your hand at this fascinating craft from the comfort of your home, this guide will walk you through the entire process, from gathering materials to dyeing your fabric.
Understanding Indigo
Indigo is a natural dye derived from the leaves of the indigo plant. The dye process is unique because, unlike many other dyes, it requires a reducing agent to dissolve the indigo pigment into a soluble form. When the fabric treated with this solution is exposed to air, the dye oxidizes and turns a vibrant blue. This characteristic makes indigo dyeing particularly interesting and rewarding.
Materials You'll Need
To begin indigo dyeing at home, gather the following materials
1. Indigo Dye Powder You can purchase indigo dye powder from craft stores or online. 2. Reducing Agent Common reducing agents include sodium dithionite or fructose, which help dissolve the indigo in water. 3. Lime or Sodium Hydroxide This helps to create the alkaline environment necessary for dyeing. 4. Fabric or Garment Natural fibers work best, such as cotton, silk, or linen. Pre-wash your fabric to remove any finishes or coatings. 5. Bucket or Plastic Container For mixing the dye bath. 6. Rubber Gloves To keep your hands safe from dye. 7. Stirring Stick Preferably made of wood or plastic. 8. Water For dissolving the dye and rinsing your fabric. 9. Vinegar For fixing the dye after the dyeing process.
Step-by-Step Dyeing Process
1. Prepare the Dye Bath Start by filling your bucket with warm water and adding the necessary amount of indigo dye powder according to the manufacturer's instructions. Stir well.
2. Add Reducing Agent Now, introduce the reducing agent to the mixture. Be cautious while handling chemicals; always wear gloves. This mixture will create a yellowish liquid where the indigo is dissolved.
indigo dyeing at home

3. Adjust pH Add lime or sodium hydroxide to create an alkaline solution. A pH of around 9-10 works best for indigo dyeing. This step is crucial for dyeing success.
4. Let it Rest Allow the dye bath to sit for about 30 minutes. During this time, you’ll notice a film forming on the surface. This is normal; it’s part of the dyeing process.
5. Wetting the Fabric Before submerging your fabric in the dye bath, wet it thoroughly with water. This helps the fabric absorb the dye evenly.
6. Dyeing Carefully immerse your wet fabric in the dye bath, fully submerging it. Gently stir the fabric in the bath for about 5-10 minutes. The longer the fabric remains in the bath, the deeper the color will become.
7. Removal and Airing After dyeing, carefully remove the fabric and let it oxidize in the air. As it comes into contact with oxygen, the color will transform from greenish-yellow to blue. Repeat this step if a deeper color is desired.
8. Setting the Dye To set the dye, soak the fabric in a mixture of vinegar and water for 30 minutes. This helps prevent fading in future washes.
9. Rinsing Rinse the fabric in cold water until the water runs clear to remove excess dye.
10. Drying Hang your fabric to dry away from direct sunlight, which can fade the beautiful indigo color.
Final Thoughts
Indigo dyeing at home can be a rewarding and engaging project, allowing you to create unique, personalized fabrics. While the process may appear complex, it is straightforward and adaptable to your creative ideas. As with all crafts, practice is key to mastering the technique. So gather your materials, embrace the process, and enjoy the beautiful blues of indigo dyeing!
-
The Timeless Art of Denim Indigo Dye
NewsJul.01,2025
-
The Rise of Sulfur Dyed Denim
NewsJul.01,2025
-
The Rich Revival of the Best Indigo Dye
NewsJul.01,2025
-
The Enduring Strength of Sulphur Black
NewsJul.01,2025
-
The Ancient Art of Chinese Indigo Dye
NewsJul.01,2025
-
Industry Power of Indigo
NewsJul.01,2025
-
Black Sulfur is Leading the Next Wave
NewsJul.01,2025

Sulphur Black
1.Name: sulphur black; Sulfur Black; Sulphur Black 1;
2.Structure formula:
3.Molecule formula: C6H4N2O5
4.CAS No.: 1326-82-5
5.HS code: 32041911
6.Product specification:Appearance:black phosphorus flakes; black liquid

Bromo Indigo; Vat Bromo-Indigo; C.I.Vat Blue 5
1.Name: Bromo indigo; Vat bromo-indigo; C.I.Vat blue 5;
2.Structure formula:
3.Molecule formula: C16H6Br4N2O2
4.CAS No.: 2475-31-2
5.HS code: 3204151000 6.Major usage and instruction: Be mainly used to dye cotton fabrics.

Indigo Blue Vat Blue
1.Name: indigo blue,vat blue 1,
2.Structure formula:
3.Molecule formula: C16H10N2O2
4.. CAS No.: 482-89-3
5.Molecule weight: 262.62
6.HS code: 3204151000
7.Major usage and instruction: Be mainly used to dye cotton fabrics.

