

DIY Techniques for Indigo Dyeing Fabric at Home for Unique Custom Colors
Custom Indigo Dyeing at Home A Creative Adventure
Indigo dyeing is a centuries-old technique that has captivated artisans and craft enthusiasts alike. This rich, vibrant color, extracted from the leaves of the indigo plant, has been used worldwide to create stunning textiles. Today, with a resurgence of interest in natural dyes and handmade goods, custom indigo dyeing at home has become a popular and rewarding hobby. In this article, we will explore the basics of indigo dyeing, the materials you need, and tips to create your one-of-a-kind pieces.
Understanding Indigo Dyeing
Indigo dyeing involves a fascinating chemical reaction that transforms the dye from yellow to blue upon exposure to oxygen. This process is called oxidation, and it is what gives indigo its unique properties. Unlike other dyes, indigo binds to fibers without the need for a mordant, making it an attractive option for home dyers.
Materials You Will Need
To start your indigo dyeing journey, gather the following materials
1. Indigo Dye You can purchase pre-reduced indigo powder or indigo dye kits specifically designed for home use. Look for high-quality sources that prioritize sustainable practices.
2. Fabric Natural fibers like cotton, silk, or linen work best for absorbing indigo dye. Pre-wash your fabric to remove any treatments that may inhibit dye uptake.
3. Dyeing Vat A container large enough to hold your fabric and dye solution, such as a plastic tub or bucket. Make sure it can be sealed to maintain the dyeing environment.
4. Protective Gear Wear gloves and an apron to protect your clothing and skin from staining.
custom indigo dyeing at home
5. Water Ensure you have clean water for mixing your dye and rinsing your fabric.
6. Stirring Stick A wooden or plastic stick will help you mix the dye and agitate the fabric during the dyeing process.
The Dyeing Process
1. Prepare the Dye Vat Follow the instructions on your indigo dye package to set up your dye vat. This typically involves dissolving the dye in warm water and creating an anaerobic environment, often by adding a reducing agent.
2. Soak the Fabric Submerge your pre-washed fabric in the dye vat, ensuring that it is completely saturated. Let it soak for several minutes to allow the dye to penetrate the fibers.
3. Air Exposure Remove the fabric from the dye vat and expose it to the air. This step is crucial as it allows oxidation to occur, turning the yellow dye blue. You can repeat the soaking and air exposure steps several times for deeper color.
4. Rinse and Dry Once you achieve your desired shade, rinse the fabric in cold water until the runoff is clear. Hang it to dry away from direct sunlight to preserve the color.
Tips for Customization
Indigo dyeing also lends itself to creativity. You can experiment with various techniques such as tie-dye, shibori (a Japanese resist-dyeing technique), or even stenciling to create unique patterns. Don’t hesitate to explore different textile manipulations before dyeing to achieve varied designs.
Indigo dyeing is not just about creating beautiful fabrics; it is an exploration of color, texture, and personal expression. With a little practice and experimentation, you can transform ordinary materials into custom pieces that reflect your style and creativity. Dive into this colorful world and enjoy the journey of indigo dyeing at home!
-
Sulphur Black Dyes in Daily Use
NewsMay.07,2025
-
Indigo Dyeing for Daily Life
NewsMay.07,2025
-
Indigo Dye Production and Its Growing Demand
NewsMay.07,2025
-
Color That Lasts
NewsMay.07,2025
-
Bromo Indigo for Modern Use
NewsMay.07,2025
-
Blue From Nature
NewsMay.07,2025
-
The Timeless Color in Fashion and Textiles
NewsApr.10,2025

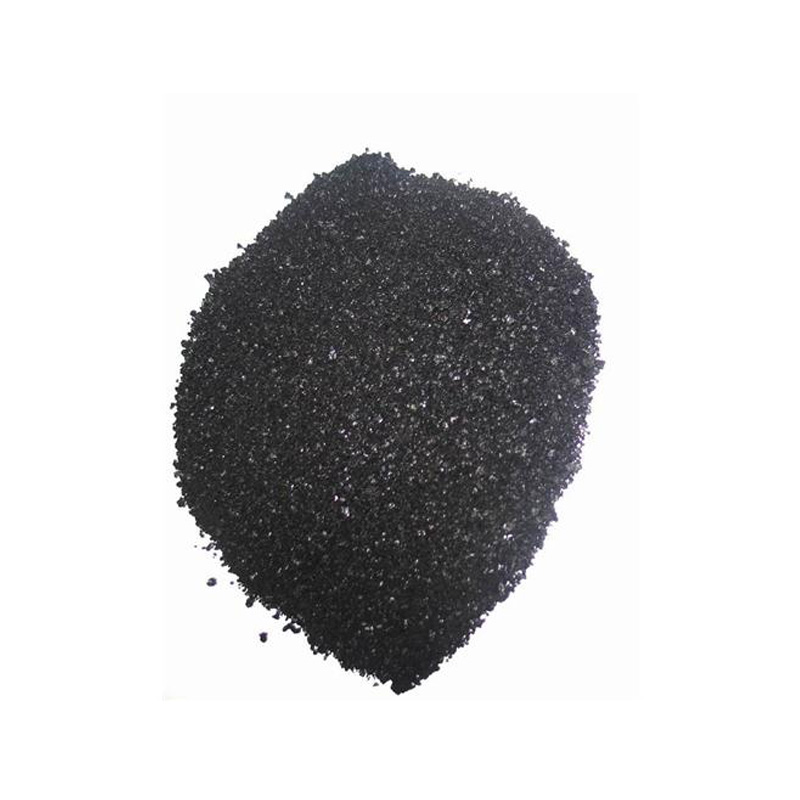
Sulphur Black
1.Name: sulphur black; Sulfur Black; Sulphur Black 1;
2.Structure formula:
3.Molecule formula: C6H4N2O5
4.CAS No.: 1326-82-5
5.HS code: 32041911
6.Product specification:Appearance:black phosphorus flakes; black liquid

Bromo Indigo; Vat Bromo-Indigo; C.I.Vat Blue 5
1.Name: Bromo indigo; Vat bromo-indigo; C.I.Vat blue 5;
2.Structure formula:
3.Molecule formula: C16H6Br4N2O2
4.CAS No.: 2475-31-2
5.HS code: 3204151000 6.Major usage and instruction: Be mainly used to dye cotton fabrics.

Indigo Blue Vat Blue
1.Name: indigo blue,vat blue 1,
2.Structure formula:
3.Molecule formula: C16H10N2O2
4.. CAS No.: 482-89-3
5.Molecule weight: 262.62
6.HS code: 3204151000
7.Major usage and instruction: Be mainly used to dye cotton fabrics.