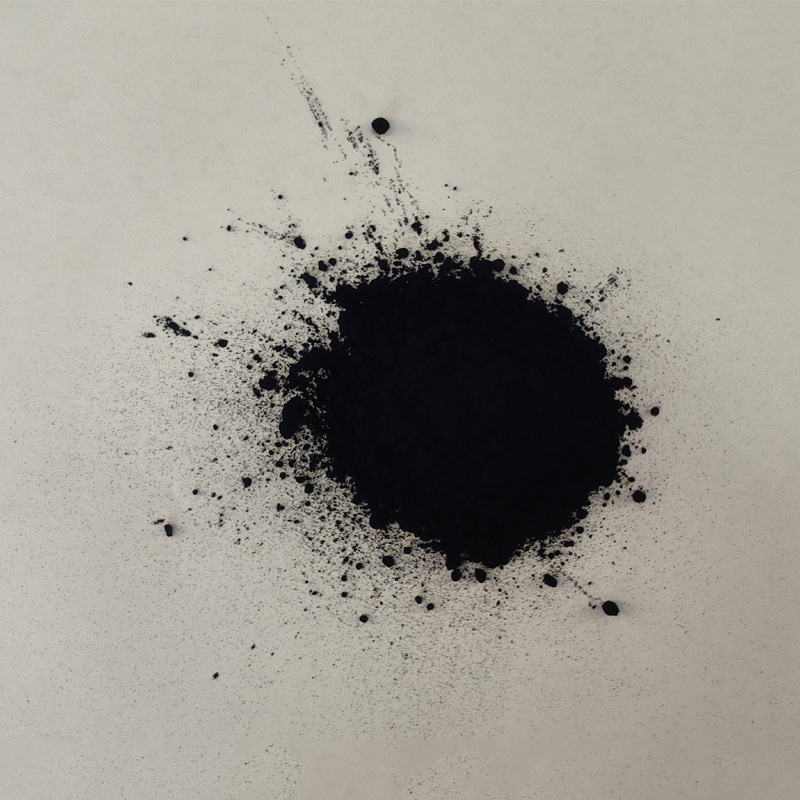
A Comprehensive Guide to Indigo Dyeing at Home and Choosing the Right Products
Indigo Dyeing at Home A Colorful Journey into Natural Dyeing
Indigo dyeing at home is an exciting and rewarding craft that has been practiced for centuries. The deep, rich blue color produced by indigo dye has the power to transform ordinary fabrics into vibrant pieces of art. With a little knowledge and preparation, anyone can embark on this colorful journey, creating beautiful and unique textile items right in their own home.
What is Indigo Dye?
Indigo dye comes from the leaves of the indigo plant, which has been used for dyeing for thousands of years. Unlike many other dyes that require fixation through heat or chemicals, indigo requires a fermentation process to convert the pigment into a soluble form that can bond to fabric. This unique characteristic makes indigo dyeing both an art and a science, as the process involves careful control of multiple factors, including temperature, pH, and air exposure.
Materials Needed for Indigo Dyeing
To get started with indigo dyeing at home, you will need several materials
1. Indigo dye powder This can be purchased from craft stores or online. Look for high-quality, natural indigo to achieve the best results.
2. Fabric Natural fibers such as cotton, linen, or silk take indigo dye beautifully. Pre-washing your fabric to remove any finishes will help the dye adhere better.
3. Water and buckets You will need containers to mix the dye solution.
4. Stirring tools Wooden sticks or old spoons work well.
6. Soda ash (sodium carbonate) This will help to fix the dye to your fabric.
indigo dyeing at home products

7. Vinegar or salt These can be useful for pre-treating your fabric and helping the dye bond more effectively.
The Dyeing Process
1. Preparing the Dye Bath Start by mixing indigo dye with warm water, following the instructions provided with your dye. You will also need to add a reducing agent, typically a combination of sodium dithionite and water, to create a solution where the indigo becomes soluble.
2. Pre-Treating the Fabric Soak your fabric in a vinegar or salt solution to help prepare it for dyeing. Rinse it thoroughly before dipping it in the dye bath.
3. Dyeing the Fabric Immerse your fabric into the dye bath, ensuring it is fully submerged. The length of time you leave the fabric in the dye will affect the intensity of the color. A shorter dip will yield a lighter shade, while a longer soak will result in a deeper blue.
4. Oxidizing Once you remove the fabric from the dye bath, allow it to oxidize in the air. This is a critical step where the fabric turns from a greenish hue to a rich blue. You can repeat the dyeing process for a more vibrant color.
5. Fixing the Dye To set the dye, rinse the fabric in cold water and let it dry. Some people recommend using a vinegar rinse to ensure the color is locked in.
Creative Possibilities
Indigo dyeing opens up a world of creative possibilities. You can experiment with different techniques, such as tie-dyeing, shibori (Japanese resist dyeing), or using stencils and rubber bands to create intricate patterns. The only limit is your imagination!
Conclusion
Indigo dyeing at home is not only a fun and creative outlet but also a way to connect with history and nature. As you immerse yourself in the process, you’ll gain a deeper appreciation for the art of dyeing and the beauty of handmade textiles. Whether you’re looking to create garments, home decor, or gifts, indigo dyeing is a fantastic skill that can enrich your crafting journey. So, gather your materials, and let the dyeing adventure begin!
-
The Timeless Art of Denim Indigo Dye
NewsJul.01,2025
-
The Rise of Sulfur Dyed Denim
NewsJul.01,2025
-
The Rich Revival of the Best Indigo Dye
NewsJul.01,2025
-
The Enduring Strength of Sulphur Black
NewsJul.01,2025
-
The Ancient Art of Chinese Indigo Dye
NewsJul.01,2025
-
Industry Power of Indigo
NewsJul.01,2025
-
Black Sulfur is Leading the Next Wave
NewsJul.01,2025

Sulphur Black
1.Name: sulphur black; Sulfur Black; Sulphur Black 1;
2.Structure formula:
3.Molecule formula: C6H4N2O5
4.CAS No.: 1326-82-5
5.HS code: 32041911
6.Product specification:Appearance:black phosphorus flakes; black liquid

Bromo Indigo; Vat Bromo-Indigo; C.I.Vat Blue 5
1.Name: Bromo indigo; Vat bromo-indigo; C.I.Vat blue 5;
2.Structure formula:
3.Molecule formula: C16H6Br4N2O2
4.CAS No.: 2475-31-2
5.HS code: 3204151000 6.Major usage and instruction: Be mainly used to dye cotton fabrics.

Indigo Blue Vat Blue
1.Name: indigo blue,vat blue 1,
2.Structure formula:
3.Molecule formula: C16H10N2O2
4.. CAS No.: 482-89-3
5.Molecule weight: 262.62
6.HS code: 3204151000
7.Major usage and instruction: Be mainly used to dye cotton fabrics.

