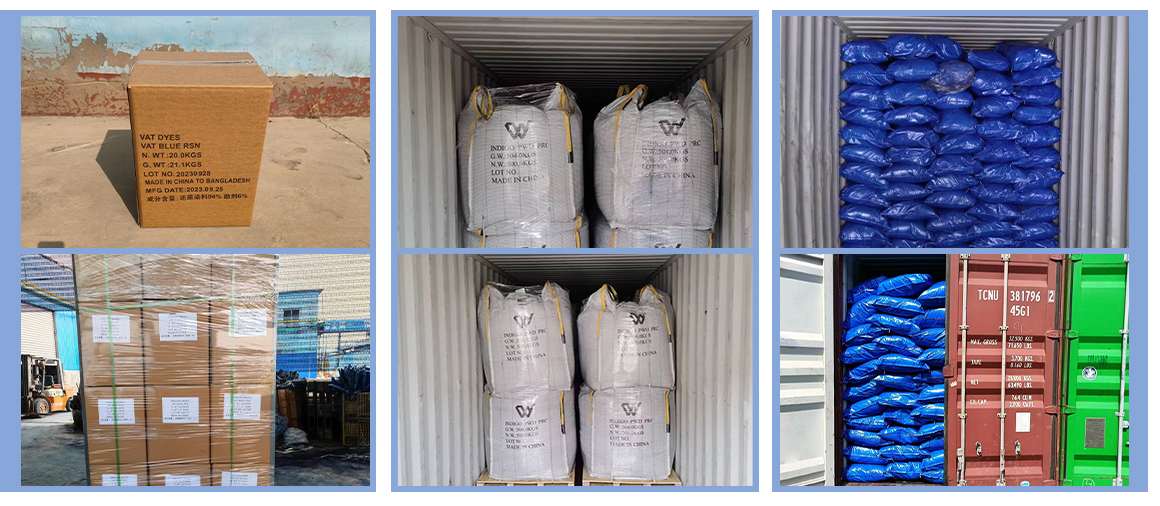
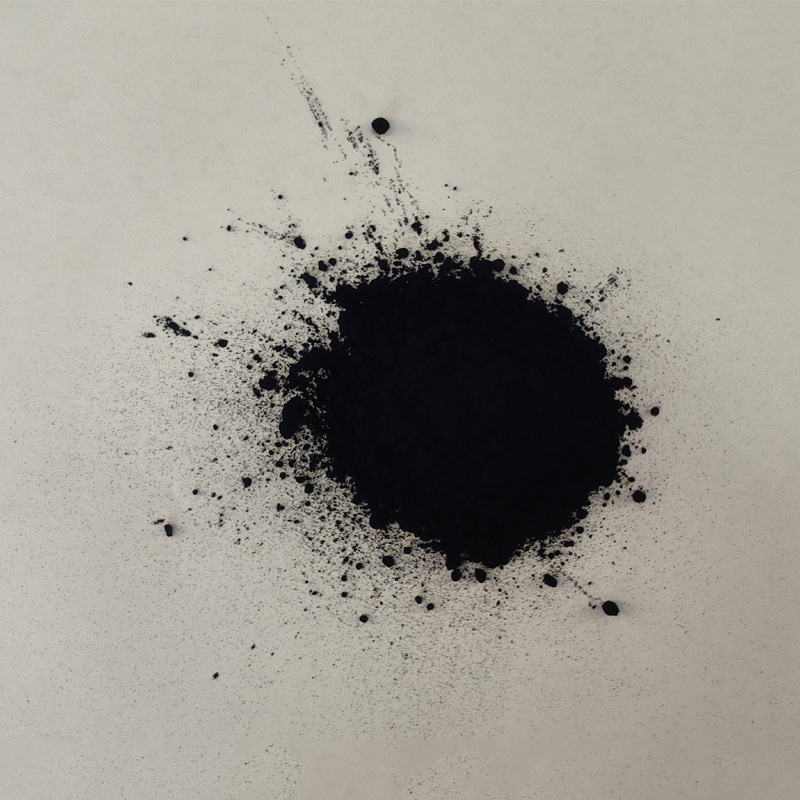
Affordable Indigo Dyeing at Home
A Guide to Cheap Indigo Dyeing at Home
Indigo dyeing has long been cherished for its rich, deep blue hues, but many assume that creating beautiful indigo-dyed textiles is a process reserved for experienced artisans or expensive workshops. Fortunately, with a little know-how and some readily available materials, you can embark on your indigo dyeing journey right from the comfort of your home—all without breaking the bank.
Understanding Indigo Dye
Indigo is a natural dye derived from the leaves of the indigo plant. While synthetic alternatives exist, nothing compares to the depth and vitality of natural indigo. The dye requires a fermentation process that produces the iconic blue color. Although it may sound daunting, home indigo dyeing can be both accessible and affordable.
Materials Needed
To start your indigo dye project, gather the following materials
1. Indigo Dye Powder You can find this online or at local craft stores. Look for natural options for the best results. 2. Reducing Agent Commonly used reducing agents include sodium hydrosulfite or a mixture of fructose and washing soda, both of which allow the indigo to dissolve in water. 3. Bucket or Large Container For dyeing fabric, use a plastic bucket or tub to hold your dye bath. 4. Water You'll need warm, water for dyeing and rinsing, preferably distilled or dechlorinated. 5. Fabric Cotton, linen, or silk works best. You can repurpose old clothing or fabric scraps to save money. 6. Gloves Protect your hands from staining and irritants. 7. Stirring Utensil A stick or spoon will suffice for stirring.
The Dyeing Process
1. Prepare Your Fabric Wash your fabric to remove any finishes that might hinder dye absorption. Pre-soaking in a mixture of water and vinegar can help prepare the fabric for dyeing.
cheap indigo dyeing at home

2. Create the Dye Bath In your bucket, mix the indigo dye powder with warm water following the instructions on the dye package. Add your reducing agent and stir well. You should see the dye turn greenish-yellow—this means it’s ready for use.
3. Dye Your Fabric Submerge the fabric into the dye bath, ensuring it is fully immersed. The longer it sits, the darker the result. Start with 10-20 minutes and check the color periodically.
4. Oxidation Carefully remove the fabric from the dye bath and let it hang or lay flat to oxidize. As it comes into contact with air, it will turn blue.
5. Rinse and Set Once you achieve the desired shade, rinse the fabric in cold water until the water runs clear. For extra permanence, a vinegar rinse can help set the dye.
6. Dry Hang your fabric to dry completely, avoiding direct sun exposure, which can fade the vibrant hue.
Creativity and Experimentation
Indigo dyeing allows for creativity. Try tie-dye techniques or shibori patterns to achieve unique designs. Remember, each piece is one-of-a-kind, making your creations all the more special.
In conclusion, cheap indigo dyeing at home is not only feasible but also a rewarding way to express your creativity. With just a few affordable materials and some patience, you can transform plain fabrics into stunning works of art. So roll up your sleeves, and let the magic of indigo dyeing inspire you!
-
The Timeless Art of Denim Indigo Dye
NewsJul.01,2025
-
The Rise of Sulfur Dyed Denim
NewsJul.01,2025
-
The Rich Revival of the Best Indigo Dye
NewsJul.01,2025
-
The Enduring Strength of Sulphur Black
NewsJul.01,2025
-
The Ancient Art of Chinese Indigo Dye
NewsJul.01,2025
-
Industry Power of Indigo
NewsJul.01,2025
-
Black Sulfur is Leading the Next Wave
NewsJul.01,2025

Sulphur Black
1.Name: sulphur black; Sulfur Black; Sulphur Black 1;
2.Structure formula:
3.Molecule formula: C6H4N2O5
4.CAS No.: 1326-82-5
5.HS code: 32041911
6.Product specification:Appearance:black phosphorus flakes; black liquid

Bromo Indigo; Vat Bromo-Indigo; C.I.Vat Blue 5
1.Name: Bromo indigo; Vat bromo-indigo; C.I.Vat blue 5;
2.Structure formula:
3.Molecule formula: C16H6Br4N2O2
4.CAS No.: 2475-31-2
5.HS code: 3204151000 6.Major usage and instruction: Be mainly used to dye cotton fabrics.

Indigo Blue Vat Blue
1.Name: indigo blue,vat blue 1,
2.Structure formula:
3.Molecule formula: C16H10N2O2
4.. CAS No.: 482-89-3
5.Molecule weight: 262.62
6.HS code: 3204151000
7.Major usage and instruction: Be mainly used to dye cotton fabrics.

