Exploring the Art of Indigo Dyeing at Home for Creative Textile Projects
Indigo Dyeing at Home A Guide to Transforming Fabrics Naturally
Indigo dyeing is a captivating and ancient art that has been practiced for centuries across various cultures around the globe. With its rich, deep blue hues, indigo is a favorite among crafters and artists alike. Today, one does not need to venture out to specialized dyeing studios to experience the magic of indigo; with the right materials and techniques, one can successfully create stunning dyed textiles right at home!
Understanding Indigo Dye
Indigo is a natural dye derived from the leaves of the indigo plant, primarily Indigofera tinctoria. Unlike other dyes that require the dye material to be soluble in water, indigo undergoes a unique process. It is originally insoluble and then converted into a soluble form through a reaction involving reducing agents. This property allows for the delightful phenomenon known as resist dyeing, where areas of the fabric are shielded from dye, resulting in intricate patterns.
What You’ll Need
To get started with indigo dyeing at home, you will need
1. Indigo Dye Kit Look for kits available online or at craft stores that include powdered indigo, a reducing agent (like sodium hydrosulfite), and instructions. 2. Fabric Natural fibers, such as cotton, silk, or linen, work best. Pre-wash your fabric to remove any finishes that may impede dye absorption. 3. Dyeing Vessel A large bucket or bowl can work, but ensure it's suitable for the process. You may also want gloves to protect your hands from staining. 4. Water Clean, tap water will suffice for mixing the dye solution. 5. Soda Ash Sometimes used as a mordant to help the dye bond to the fabric permanently.
The Dyeing Process
Once you’ve gathered your materials, it’s time to dye! Follow these steps for a successful indigo dyeing experience
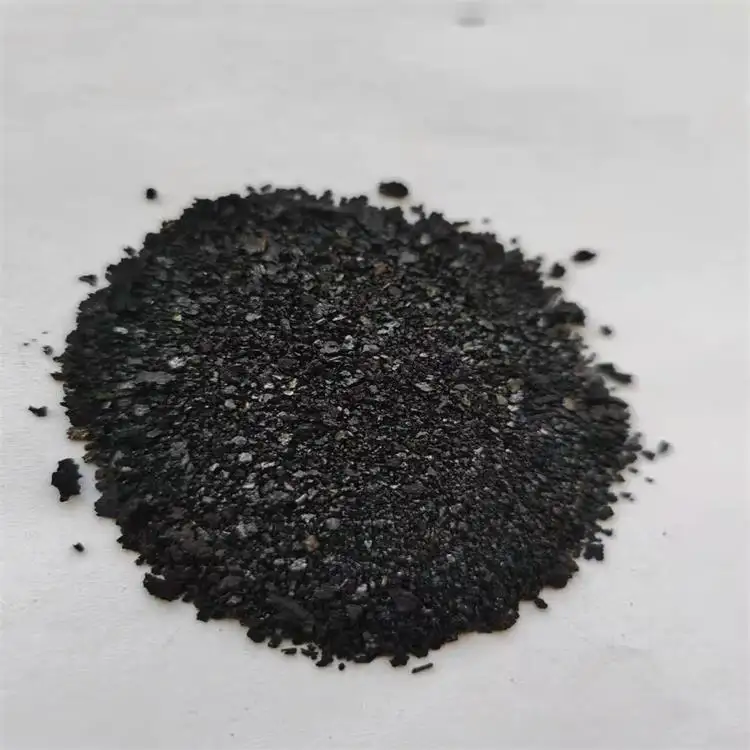
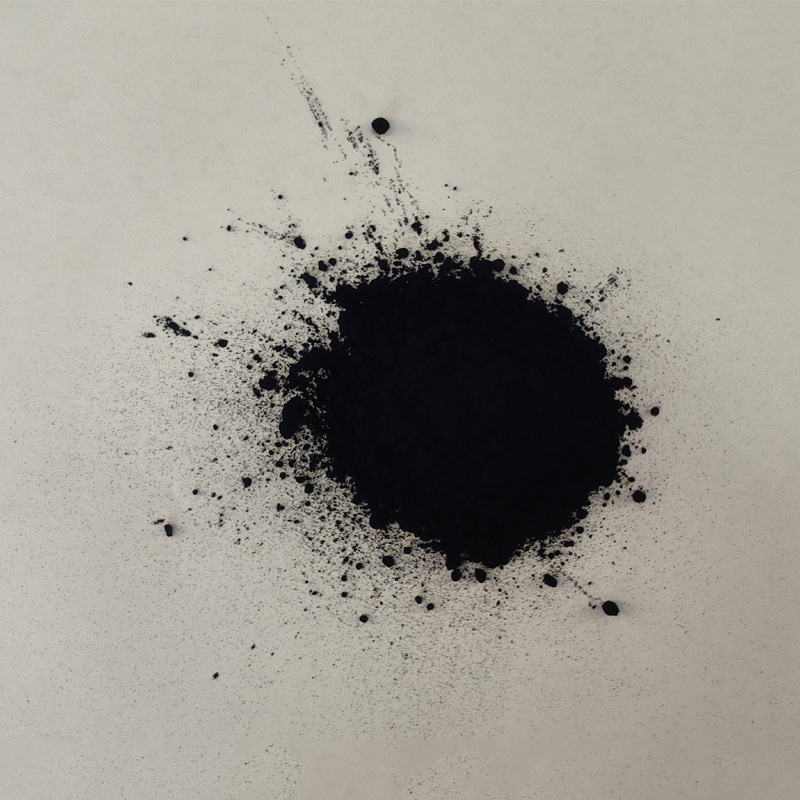
indigo dyeing at home product

1. Prepare the Dye Bath In a well-ventilated area, mix the indigo powder with warm water, creating a paste. Gradually add more water according to your kit’s instructions to form a dye bath. Add the reducing agent and stir until the solution turns a yellow-green color, indicating that it’s ready for fabric immersion.
2. Dye Your Fabric Submerge your prepared fabric into the dye bath. While it’s soaking, the dye will attach to the fibers. The longer you leave the fabric in the dye, the deeper the color will become. Consider doing test strips to find your preferred shade.
3. Oxidation After dyeing, carefully remove the fabric and let it oxidize in the air. This is a crucial step, as the fabric will turn from a yellow-green to a deep blue as it reacts with oxygen. Lay it flat or hang it up to dry.
4. Rinse and Fix Rinse the dyed fabric in cool water to remove excess dye. If desired, fix the color by soaking it in a vinegar solution (1 part vinegar to 4 parts water) for about 30 minutes. Rinse again and hang to dry completely.
Creative Applications
Indigo dyeing opens a world of creative possibilities! Experiment with different techniques such as tie-dye, shibori (a Japanese resist dyeing technique), or even stenciling. Each method allows for unique designs and shades, making your textiles truly one-of-a-kind.
Conclusion
Indigo dyeing at home is not only a fun and fulfilling project but also a wonderful way to connect with a time-honored tradition that celebrates color and creativity. With a little patience and a lot of imagination, you can transform plain fabrics into beautiful works of art, all while appreciating the natural beauty and history of indigo. So gather your supplies and start your indigo journey today!
-
The Timeless Art of Denim Indigo Dye
NewsJul.01,2025
-
The Rise of Sulfur Dyed Denim
NewsJul.01,2025
-
The Rich Revival of the Best Indigo Dye
NewsJul.01,2025
-
The Enduring Strength of Sulphur Black
NewsJul.01,2025
-
The Ancient Art of Chinese Indigo Dye
NewsJul.01,2025
-
Industry Power of Indigo
NewsJul.01,2025
-
Black Sulfur is Leading the Next Wave
NewsJul.01,2025

Sulphur Black
1.Name: sulphur black; Sulfur Black; Sulphur Black 1;
2.Structure formula:
3.Molecule formula: C6H4N2O5
4.CAS No.: 1326-82-5
5.HS code: 32041911
6.Product specification:Appearance:black phosphorus flakes; black liquid

Bromo Indigo; Vat Bromo-Indigo; C.I.Vat Blue 5
1.Name: Bromo indigo; Vat bromo-indigo; C.I.Vat blue 5;
2.Structure formula:
3.Molecule formula: C16H6Br4N2O2
4.CAS No.: 2475-31-2
5.HS code: 3204151000 6.Major usage and instruction: Be mainly used to dye cotton fabrics.

Indigo Blue Vat Blue
1.Name: indigo blue,vat blue 1,
2.Structure formula:
3.Molecule formula: C16H10N2O2
4.. CAS No.: 482-89-3
5.Molecule weight: 262.62
6.HS code: 3204151000
7.Major usage and instruction: Be mainly used to dye cotton fabrics.

