How to Achieve Vibrant Indigo Dyeing Results at Home
High-Quality Indigo Dyeing at Home A Step-by-Step Guide
Indigo dyeing has a rich history that dates back thousands of years, cherished in cultures across the globe for its striking blue shades. With a resurgence in interest for sustainable practices and DIY crafts, many are now turning to indigo dyeing at home. This article will guide you through the process of achieving high-quality indigo dyeing in your own backyard.
Understanding Indigo
Indigo dye comes from the leaves of certain plants, most notably from the indigofera family. The dye itself is not water-soluble until it undergoes a fermentation process that transforms the plant’s natural compounds. This unique characteristic allows indigo to create stunning and varied shades of blue. Unlike synthetic dyes, indigo’s color deepens with each subsequent dye bath, allowing for richer hues.
Supplies Needed
Before you begin, gather all necessary supplies. Here’s what you’ll need
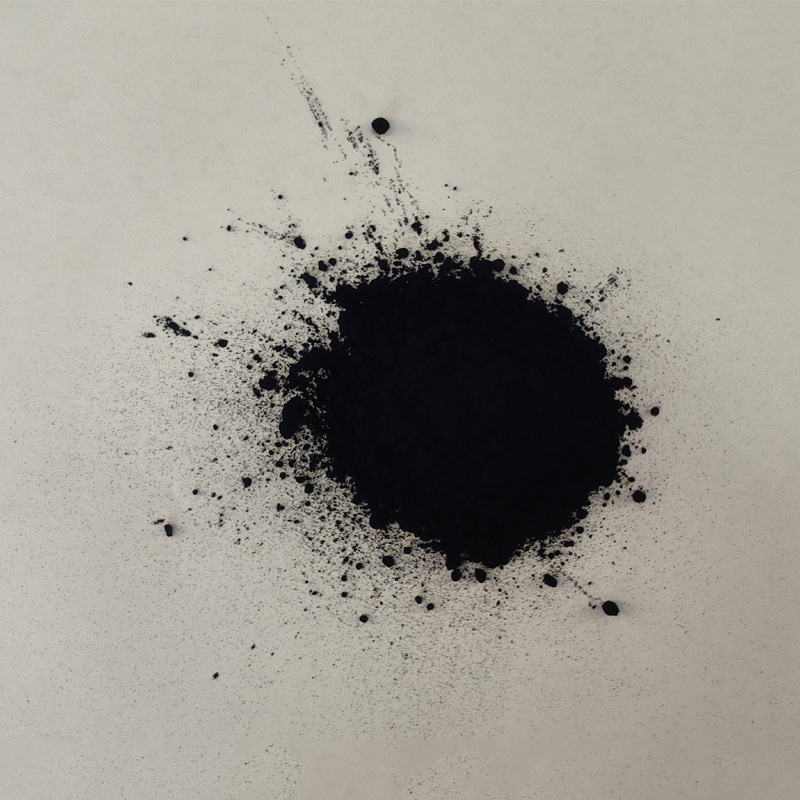
1. Indigo Dye Purchase high-quality powdered indigo dye. 2. Fermentation Container A non-metallic container (like a plastic bucket) to prepare the dye solution. 3. Wool, Cotton, or Silk Fabric Choose natural fibers as they absorb indigo better than synthetics. 4. Soda Ash To prepare the fabric. 5. Reducing Agent Such as sodium thiosulfate or fructose for the fermentation process. 6. Protective Gear Gloves, goggles, and an apron to protect your skin and clothing. 7. Water For dissolving the dye and soaking your fabric.
Preparing the Dye Bath
Start by preparing the indigo dye bath. Follow these steps for a successful dyeing process
1. Soak the Fabric Dissolve soda ash in warm water and let your fabric soak for at least 30 minutes. This helps the dye adhere to the fibers.
2. Prepare the Indigo Solution In your fermentation container, mix water with the indigo powder and your reducing agent. Follow the instructions on your specific dye product to ensure you achieve the right concentration. Stir gently until the mixture turns a clear yellow-green color with a foamy top.
high quality indigo dyeing at home

3. Let it Ferment Seal the container and let it sit for several hours to overnight. This fermentation process is crucial, as it allows the dye to develop its full potential.
Dyeing Process
Once your dye bath is ready, it’s time to start dyeing
1. Wring Out the Fabric Remove your fabric from the soda ash solution, rinse briefly, and wring out excess water.
2. Dyeing Submerge the fabric into the indigo dye bath for about 5-10 minutes. The longer you leave it, the deeper the blue will become. Remember that the fabric will come out yellow-green and turn blue upon exposure to air.
3. Oxidation Lift the fabric from the dye bath and let it oxidize in the air for a few minutes before rinsing. The exposure to air causes the indigo molecules to bond with the fabric, resulting in the characteristic blue color.
4. Repeat as Desired To achieve darker shades, repeat the dyeing and oxidation steps as necessary. Each dip will reinforce the color.
Rinsing and Setting the Dye
After achieving the desired shade, rinse the fabric in cold water until it runs clear. Hang it up to dry away from direct sunlight, as prolonged exposure can fade the indigo color. To set the dye, wash it in a solution of mild detergent and water.
Conclusion
Indigo dyeing at home is not only a fulfilling creative outlet but also a way to connect with ancient traditions. By following these steps, you can create beautiful, high-quality indigo-dyed fabrics that showcase your personal style and craftsmanship. Remember, the magic of indigo lies in its ability to transform and deepen, so don’t hesitate to experiment and enjoy the process! Happy dyeing!
-
The Timeless Art of Denim Indigo Dye
NewsJul.01,2025
-
The Rise of Sulfur Dyed Denim
NewsJul.01,2025
-
The Rich Revival of the Best Indigo Dye
NewsJul.01,2025
-
The Enduring Strength of Sulphur Black
NewsJul.01,2025
-
The Ancient Art of Chinese Indigo Dye
NewsJul.01,2025
-
Industry Power of Indigo
NewsJul.01,2025
-
Black Sulfur is Leading the Next Wave
NewsJul.01,2025

Sulphur Black
1.Name: sulphur black; Sulfur Black; Sulphur Black 1;
2.Structure formula:
3.Molecule formula: C6H4N2O5
4.CAS No.: 1326-82-5
5.HS code: 32041911
6.Product specification:Appearance:black phosphorus flakes; black liquid

Bromo Indigo; Vat Bromo-Indigo; C.I.Vat Blue 5
1.Name: Bromo indigo; Vat bromo-indigo; C.I.Vat blue 5;
2.Structure formula:
3.Molecule formula: C16H6Br4N2O2
4.CAS No.: 2475-31-2
5.HS code: 3204151000 6.Major usage and instruction: Be mainly used to dye cotton fabrics.

Indigo Blue Vat Blue
1.Name: indigo blue,vat blue 1,
2.Structure formula:
3.Molecule formula: C16H10N2O2
4.. CAS No.: 482-89-3
5.Molecule weight: 262.62
6.HS code: 3204151000
7.Major usage and instruction: Be mainly used to dye cotton fabrics.

