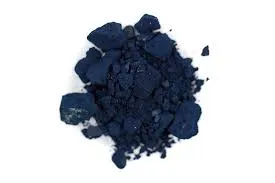
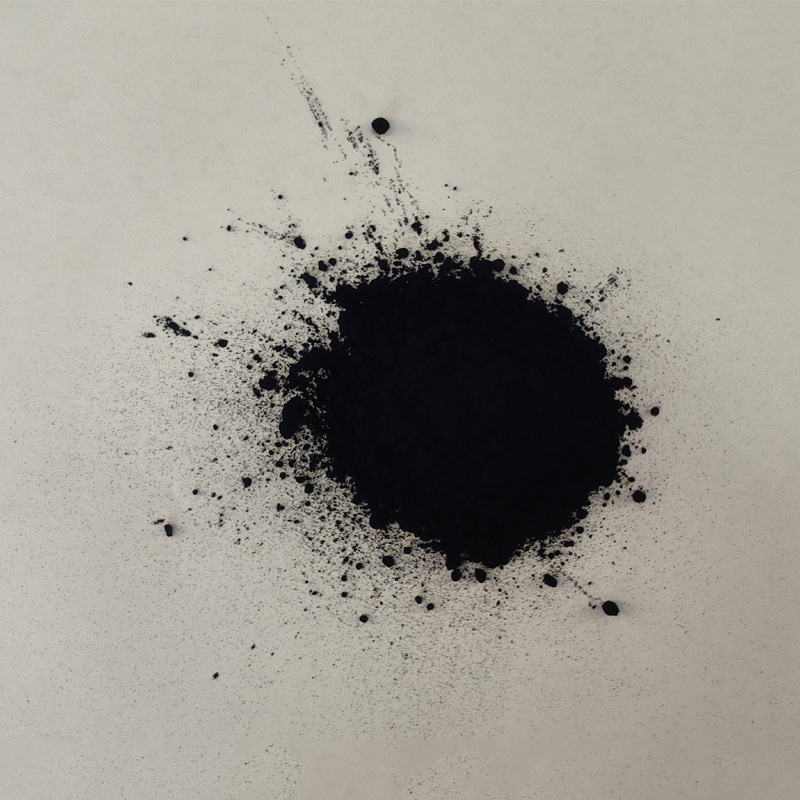
indigo dyeing at home products
Indigo Dyeing at Home A Colorful Journey
Indigo dyeing has long been celebrated for its vibrant appeal and rich history, dating back thousands of years. Today, it’s possible to bring this ancient craft into your home, allowing for a personal touch in your fabric creations. If you're interested in indigo dyeing at home, this guide will help you navigate the essentials, providing you with the knowledge to explore this beautiful art form.
What is Indigo?
Indigo is a natural dye derived from the leaves of the indigo plant (Indigofera). It was historically used to dye textiles in various cultures, particularly in Asia, Africa, and the Americas. Known for its deep, rich blue color, indigo has substance and spirit that appeals to crafters and artists alike. The dye can be used on cotton, wool, and silk, making it versatile for various textile projects.
Preparing for Indigo Dyeing
Before diving into the dyeing process, preparation is key. First, gather your materials. You will need
1. Indigo Dye You can purchase indigo dye in either powdered form or as a dye kit that includes everything required for dyeing. 2. Fabric Natural fibers work best. Cotton, linen, and silk are popular choices. 3. Stirring Stick A wooden stick or a long spoon will help mix your dye. 4. Gloves and Mask Protect your hands and respiratory system as a safety precaution. 5. Container A large bucket or basin to hold the dye bath.
indigo dyeing at home products

The Dyeing Process
1. Prepare the Fabric Wash your fabric to remove any impurities that could hinder dye absorption. If using cotton, consider soaking it in a solution of water and soda ash to prepare it for dyeing. 2. Dye Bath Preparation If you're using powdered indigo, follow the instructions to dissolve it in warm water. The dye must be treated with a reducing agent, such as sodium hydrosulfite, to create a clear dye bath.
3. Dyeing Submerge your fabric in the dye bath, stirring gently. The duration of the soak will determine the intensity of the color. For lighter shades, keep it in for a few minutes, while for darker shades, you may want to leave it in for longer.
4. Oxidation After dyeing, carefully remove the fabric and allow it to oxidize in the open air. The indigo will transform into its famous blue hue during this process. You may repeat the dyeing and oxidation steps multiple times to achieve your desired shade.
5. Rinsing and Finishing Once you’re satisfied with the color, rinse the fabric in cold water until the water runs clear. This step helps remove any excess dye. After rinsing, dry the fabric away from direct sunlight to retain the color.
Conclusion
Indigo dyeing is not just about the final product; it’s a journey that connects you to centuries of artistic expression. This craft allows for creativity and individuality, enabling you to create unique pieces for your wardrobe or home decor. Whether you are a seasoned crafter or a curious beginner, indigo dyeing at home promises to be a rewarding experience filled with beautiful outcomes. So gather your materials and embark on your indigo journey today!
-
The Timeless Art of Denim Indigo Dye
NewsJul.01,2025
-
The Rise of Sulfur Dyed Denim
NewsJul.01,2025
-
The Rich Revival of the Best Indigo Dye
NewsJul.01,2025
-
The Enduring Strength of Sulphur Black
NewsJul.01,2025
-
The Ancient Art of Chinese Indigo Dye
NewsJul.01,2025
-
Industry Power of Indigo
NewsJul.01,2025
-
Black Sulfur is Leading the Next Wave
NewsJul.01,2025

Sulphur Black
1.Name: sulphur black; Sulfur Black; Sulphur Black 1;
2.Structure formula:
3.Molecule formula: C6H4N2O5
4.CAS No.: 1326-82-5
5.HS code: 32041911
6.Product specification:Appearance:black phosphorus flakes; black liquid

Bromo Indigo; Vat Bromo-Indigo; C.I.Vat Blue 5
1.Name: Bromo indigo; Vat bromo-indigo; C.I.Vat blue 5;
2.Structure formula:
3.Molecule formula: C16H6Br4N2O2
4.CAS No.: 2475-31-2
5.HS code: 3204151000 6.Major usage and instruction: Be mainly used to dye cotton fabrics.

Indigo Blue Vat Blue
1.Name: indigo blue,vat blue 1,
2.Structure formula:
3.Molecule formula: C16H10N2O2
4.. CAS No.: 482-89-3
5.Molecule weight: 262.62
6.HS code: 3204151000
7.Major usage and instruction: Be mainly used to dye cotton fabrics.

