Indigo is a fascinating natural dye, in fact it is the only permanent natural blue. However, there are many variations on dye method, and not all will give you the best results. Since I began dyeing with indigo, more than 9 years ago, I’ve adapted and adjusted the indigo dye method to be easy, effective, consistent, and safe.
I’ve always enjoyed the fascination of the indigo vat, and indigo is one of my favorite wintertime natural dyes. It’s fun, slightly unpredictable, but always gives an awesome and amazing colour.
When preparing to dye with indigo, the most important thing to remember is that indigo is different. On the molecular level, an indigo reduction vat operates completely differently to other natural dyes. Indigo forms a physical bond. The depth and fastness of color are determined by how many layers of indigo dye molecules are built up.
Now, some indigo reduction vat recipes call for varying vat strengths depending on the color you want. This is unnecessary, and actually detrimental to the color fastness of your dye. Stick with a medium strength vat for all shades of blue, and just vary the number of times, and length of time, you vat and oxidize the fabric to vary the depth of shade.
Ingredients and Tools for an Indigo Dye Reduction Vat:
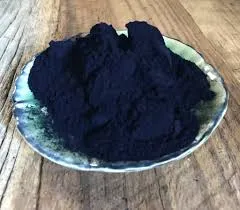
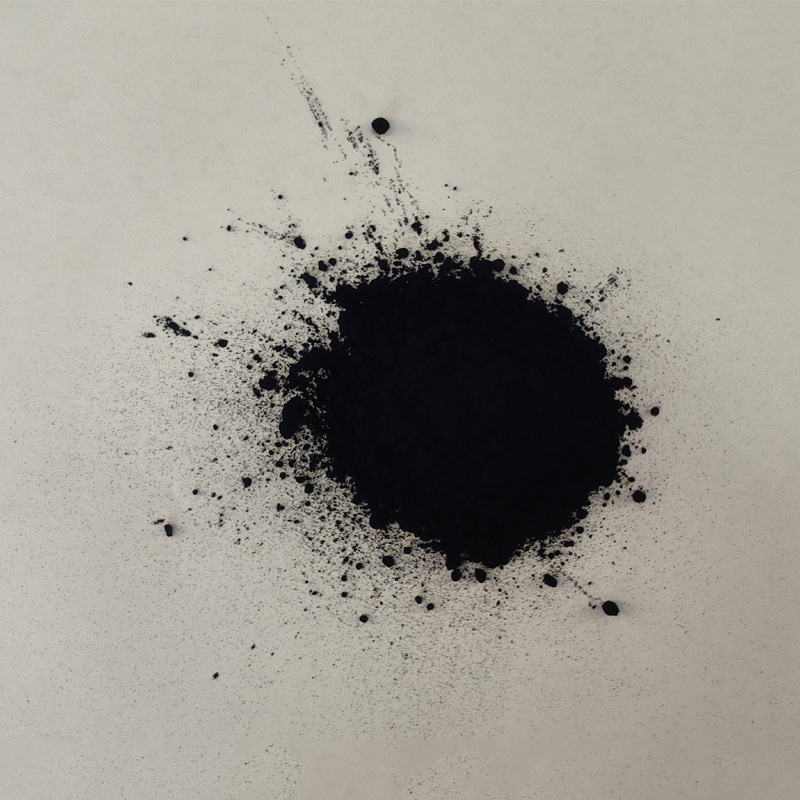
Indigo powder: This can be either woad indigo powder, or Indian indigo powder. If you bought solid indigo, you will need to grind it with a mortar and pestle before use, same if you dried your own woad indigo powder.
Soda Ash or Washing Soda: An alternative to caustic lye (Sodium Hydroxide) that some recipes call for. Its purpose is to raise the pH of the vat to the point where reduction can occur.
Thiourea Dioxide: Also called colour remover, this is the reducing agent.
pH test strips: This helps keep your dye vat accurate, and lessens the margin for error.
A non-reactive container for your vat: some people recommend using a large ice-cream bucket, I prefer a stainless steel dye pot.
A glass jar, preferably wide-mouth to create your stock solution.
Gloves, mask, and an apron are also recommended gear for dyeing with natural indigo.
Note: Indigo dyeing should only be done in a well-ventilated area, preferably outdoors. If you can have a small outdoor burner to warm up the vat, in case it gets chilled, it is even better.
Creating Your Indigo Dye Vat:
Check your tap water pH before continuing. If your pH is around neutral, 7, you should only need to add one tablespoon of soda ash, or washing soda, to your jar to raise the pH to 10.
The most efficient method for reducing indigo is through a stock solution. To create a stock solution, Fill the glass wide mouth jar to just below the shoulder with warm water, add washing soda and check the pH.
Once your pH is correct, dump 2 tablespoons of indigo powder into the jar. Then, stir until the indigo powder is wetted down. I find a chop stick is helpful for the stirring stage. Indigo is naturally hydrophobic and will not actually dissolve in water. This is why indigo has to be reduced.
Once the indigo is wetted down, add 1 tsp of thiourea dioxide. The jar should start fizzing slightly, and foam should begin forming on the top of the jar.

Set the jar in a sink of warm water, without a lid, and let sit for 15-30 minutes. The liquid in the jar should be a green-yellow, and it should have a faint blue foam on the top of the jar. This foam will often overflow the jar, hence why you should leave the lid off. If, at the end of 30 minutes, the jar is not reduced, add another teaspoon of the thiourea dioxide and wait.
In my experience, after the addition of the thiourea dioxide, the stock jar reduces almost immediately. However, if the water temperature is too cold, or the pH is off, it can take longer or require an adjustment.
Note: While you can use washing soda, soda ash, or lye to change the pH of your vat, I would recommend not using lye. Lye is caustic, and can damage protein fibers even when the vat is exactly the right pH. When I first began dyeing with indigo, I used lye and ended up with wool becoming harsher and courser in the dying process. When I switched to using washing soda, the wool suddenly began remaining soft and did not end up with a harsh hand.
Creating the Indigo Dye Vat:
Wear a mask and gloves when working with indigo powder, and with the thiourea dioxide.
Fill your chosen dye vat roughly half full of warm water. In an average sized stainless steel pot, that would be about 2 gallons of water. Check the vat pH, and raise the pH to 10. It should take 3-5 tablespoons of soda ash or washing soda to accomplish this. I normally start with two, check, and then gradually add more if needed.
Add 1 teaspoon of thiourea dioxide and gently stir until dissolved. Let the vat stand for 10-15 minutes before adding the stock solution.
To add the stock solution, immerse the jar into the vat and carefully tip out the reduced indigo solution. Rinse the jar gently in the vat to get all the indigo foam out. Try not to add more air than is necessary in this process.
Let the vat sit for another 10-15 minutes. At this point, the vat liquid should be green to green/yellow and it may, or may not, have floating blue foam on the top. It will smell like compost.
If you are working outside, you will want to monitor the temperature of the vat and keep it somewhere around body-temperature or a touch warmer. If the vat gets too cold, it will no longer reduce the indigo. A cold vat can be revived by being heated in a container of hot water, or carefully heated on an out-door burner. Do not bring a reduced indigo vat higher than “steaming” as anything over 120F will destroy the reduced indigo molecules.
If your vat is not behaving how I have described, you can check here for some common reduction vat problems and how to troubleshoot them.
indigo blue vat blue
Dyeing with Your Reduced Indigo Dye Vat:
When adding or removing anything from the indigo vat, make sure you are wearing gloves. Reduced indigo will adhere to your skin just as happily as to your fabric. Once an indigo dyed item is oxidized and rinsed, you can handle it without gloves as indigo only adheres in its reduced state.
While waiting for your indigo to reduce, you will hopefully have been preparing your fiber. Wash, scour, and cleanse all fibers that you will be dyeing. Any residual oils and waxes on your fibers will prevent even dye coverage.
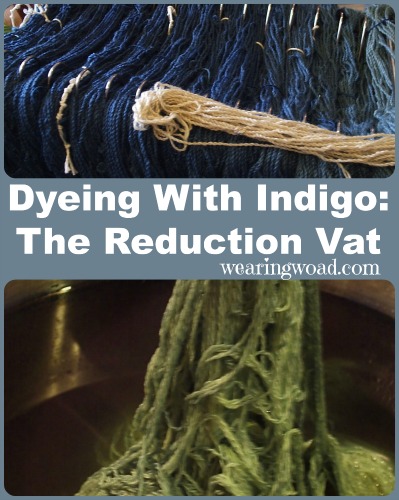
Because indigo forms a physical bond with the fabric, your dye method will be different to that used with other natural dyes. You don’t simply introduce a certain weight of fabric or fiber and soak it for a certain length of time to get the darkest colours. Instead, you add your fiber, wait, take it out, wait, and add it in again in a process called “revatting.”
Fibers should only be left in the indigo vat for 10-30 minutes, I found the best success with 15 minutes. Some methods do suggest letting the fiber soak for longer periods of time. However, a 60 minute soak only equals the color of two 15 minute vat and oxidize sessions. This is because after a certain length of time, the molecules simply re-reduce on the fabric, instead of adhering. A soaked indigo dye will also wash off more than a piece that was dyed using the vat and oxidize method.
So, add your fiber. Wait fifteen minutes and take it out. Wait fifteen minutes and let the fiber oxidize. Then, repeat the process 4-6+ times for the darkest shades of blue. You can have two sets of fabric or fiber going alternately in the same vat to maximize your time usage.
During this time, it is a good idea to be wearing an apron. No matter how careful you are in adding and removing fiber from the vat, there will be splashes. And reduced indigo splashes do not wash out!
The physical bond, that indigo forms, will lay a criss-cross pattern of dye molecules over your fabric. Each sequential re-vatting and oxidize time will make your dye color darker, and more wash-fast. A medium strength indigo vat can give you dark navy indigo blue, and even light blue.
For light blues, or if you are using indigo as an over-dye, you will only want to introduce the fabric for a minute or two. Then let it oxidize and check the color. Because the indigo vat is reduced with a color remover, over-dyeing with indigo can remove other colors from the fabric.
Once you have completed all desired vat and oxidize repetitions, you should let your indigo dyed fibers oxidize overnight before rinsing and washing them. Protein fibers should be washed and their pH neutralized, plant fibers can just be washed or rinsed.
In the past, I have rinsed wool and silk fibers within 6 hours of finishing their dyeing and I have never noticed a difference in the depth of color due to not leaving them overnight. With silk particularly, I would not recommend leaving the fiber for more than 12 hours without rinsing, as the pH can damage the fiber.
Recharging and Exhausting your Indigo Vat:
At any point, during your indigo dye adventure, you can create another stock jar and add it to your vat to recharge it. In my experience, however, after 5 recharges the amount of thiourea dioxide in the vat gets high and can start to strip indigo off of previously dyed fabric. My experience of this was when I went through five jars in the same afternoon. The vat was fixed by simply leaving it uncovered overnight and then reheating it the next day without adding any additional thiourea dioxide.
An indigo vat is exhausted when your fabric is no longer darkening but the vat still appears reduced. At this point, add something like washed fleece, or a skein of yarn, to completely exhaust the color from the vat. The fleece, even with two or three oxidizations, should remain a light to medium blue.
A vat can be reheated, and recharged at any time. If you keep your indigo vat in a plastic pail with lid, you can save and restart it at any time.
If you want to discard your dye vat, start by letting it fully oxidize. A fully oxidized vat has no remaining active thiourea dioxide, and should appear blue instead of green. Add enough citric acid or vinegar to bring the pH of the vat down to neutral. The fully oxidized and neutralized vat can then be discarded through normal wastewater channels. If you are on septic, however, I would recommend dumping it into a pile of gravel or on a gravel dye garden path. Basically, somewhere that is away from food plants and in a location where it the vat liquid will not pool, to prevent critters from ingesting it.
Note: As long as you do not use lye, the only thing harmful in an indigo reduction vat is the thiourea dioxide. When the vat is fully oxidized, it means that all thiourea dioxide has reacted with the indigo and is no longer available to cause problems. A fully oxidized, and pH neutral indigo vat is safe to discard.


