Natural Dyeing with Indigo at Home – Beautiful Blue
Natural Dyeing with Indigo
Indigo has been used in natural dyeing since ancient times to create beautiful shades of blue, from very light to very dark. It can be a bit intimidating for natural dyers to work with indigo for the first time, as it’s not a water soluble substance and the dye pot needs to be deprived of oxygen in order for the indigo dye to bind to the fabric. You’ll also need a reducing agent, like certain fruits or fructose crystals, to remove the oxygen from the indigo solution to allow it to dissolve in water. You’ll also need a base, like soda ash or calcium hydroxide, to allow the reducing agent to work. If you’d like to skip all this and get started right away with a super simple kit from Amazon, just click here.
-
To begin making dye with indigo, it’s first necessary to make indigo stock. You’ll need your indigo, base (in this case calcium hydroxide), and reducing agent (in this case fructose crystals). Since there are different variations of indigo you can use, it is recommended to use powdered natural indigo. It is also recommended to use a dust mask and gloves when working with calcium hydroxide, as the dust can be irritating. To start out with, you can buy a basic indigo dye kit on Amazon for under $20.
-
For this recipe, use one part indigo powder, two parts calcium hydroxide, and three parts fructose crystals. In a heat-resistant container (preferably clear), combine about 2 ounces of indigo powder with some warm water to make a paste. Using this amount of indigo powder will result in a medium shade of blue. You can use less or more indigo powder depending on the shade you want, but be sure to adjust your reducing agent and base measurements. Add 2 cups of hot water, at about 120 degrees Fahrenheit, to the container, stirring well. Then add the calcium hydroxide, stirring well but gently so as to avoid creating any air bubbles. If your mixture thickens too much, add some more hot water to thin it out. You can then add your fructose crystals to the container, once again stirring well. Top off your container with some more hot water until it is almost full.
-
At this point, the mixture in your container should develop a greenish yellow color. Let the container sit and settle for about an hour. An optional step is to place your container in a pot of hot water, since the warmth will speed up the chemical reaction. Every 15 minutes or so, stir the mixture and let it settle. As it settles, the liquid at the top of the container should turn more transparent and greenish yellow or even brownish red. Then, after about 45 minutes to an hour, stir the mixture one last time and allow it to settle once more for 15 minutes. The indigo stock is finished when there is a clear separation line between the light liquid and the heavier matter sitting at the bottom of the container, and there is a film-like layer at the top of the mixture with a blue indigo substance sitting on top as well.
-
Now that your indigo stock is done, you can prepare the dyepot. Use a stainless steel or other non-reactive material, preferably a pot that is used exclusively for dyeing. Fill it about 2/3 of the way full with hot water, about 120 degrees Fahrenheit. Stir in your indigo stock, including the thicker sludge at the bottom of the container. Fully combine with the hot water, and in about 15 to 30 minutes your dyepot mixture should be greenish yellow.
-
As typical in natural dyeing, your fibers should be pre-wetted and wrung out before being placed into the dyepot. However, there is no need to mordant your fibers when dyeing with indigo! When you are ready to dye, submerge the fibers into the dyepot for only about 30 seconds up to 3 minutes. When you remove the fibers, let the excess liquid drip back into the pot. Soon after removal, you will see your fibers turn from the greenish color to blue! Allow your fibers to air out for about 30 minutes and turn fully blue with no discolored areas. Since fibers dyed with indigo will turn out lighter than when they are fresh out of the dyepot after rinsing and drying, you can continue submerging them into the dyepot until they appear a little darker than the final color you would like. Finally, you can thoroughly rinse your fibers in water and allow to dry away from direct sunlight.
-
Explore Sustainable Indigo Manufacturing & Dye Industry Trends | Wuxin Indigo
NewsNov.24,2025
-
Discover Indigo On: Innovative Modular Solutions for Global Sustainability
NewsNov.24,2025
-
Explore Traditional & Sustainable Indigo Production in India | Eco-Friendly Dye Solutions
NewsNov.23,2025
-
Indigo Suppliers: Sustainable Dyeing Solutions for Global Textile Industry
NewsNov.23,2025
-
Instant Indigo – Fast, Eco-Friendly Indigo Dye Solutions for Modern Industry
NewsNov.22,2025
-
Japanese Indigo Cloth – Sustainable Tradition Meets Modern Textile Innovation
NewsNov.22,2025
-
Comprehensive Guide to How to Make Blue Dye – Sustainable & Practical Insights
NewsNov.22,2025

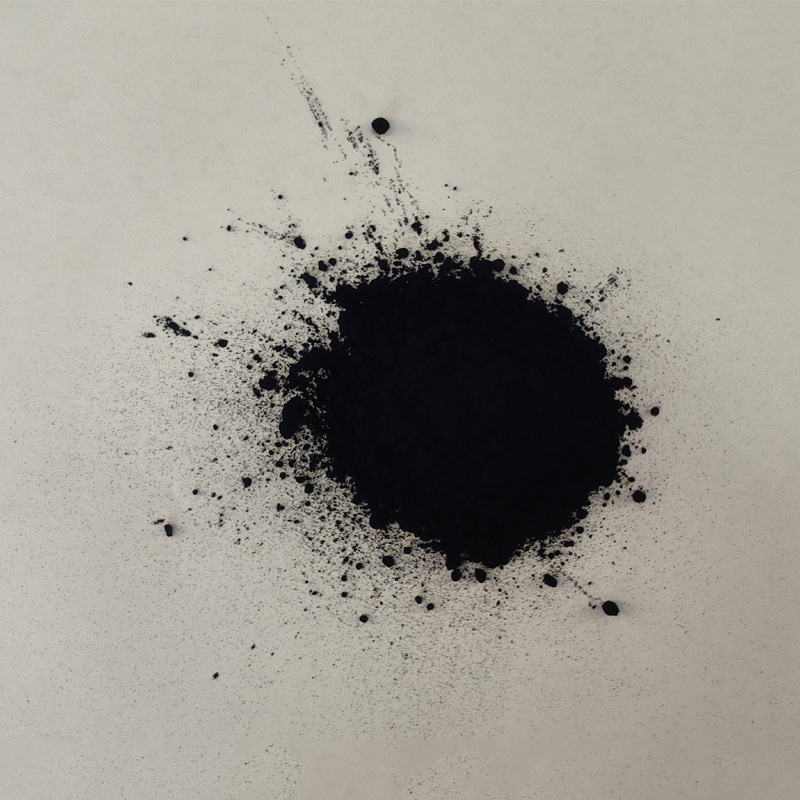
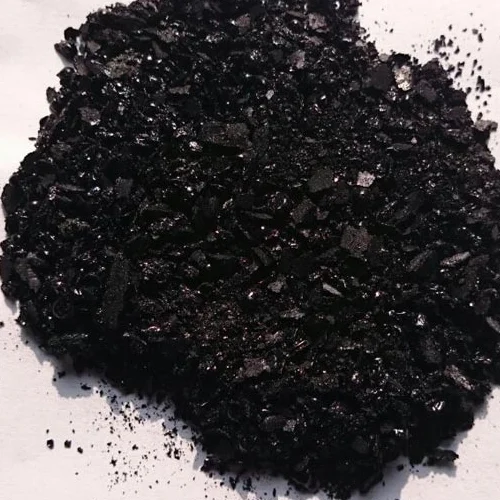
Sulphur Black
1.Name: sulphur black; Sulfur Black; Sulphur Black 1;
2.Structure formula:
3.Molecule formula: C6H4N2O5
4.CAS No.: 1326-82-5
5.HS code: 32041911
6.Product specification:Appearance:black phosphorus flakes; black liquid

Bromo Indigo; Vat Bromo-Indigo; C.I.Vat Blue 5
1.Name: Bromo indigo; Vat bromo-indigo; C.I.Vat blue 5;
2.Structure formula:
3.Molecule formula: C16H6Br4N2O2
4.CAS No.: 2475-31-2
5.HS code: 3204151000 6.Major usage and instruction: Be mainly used to dye cotton fabrics.

Indigo Blue Vat Blue
1.Name: indigo blue,vat blue 1,
2.Structure formula:
3.Molecule formula: C16H10N2O2
4.. CAS No.: 482-89-3
5.Molecule weight: 262.62
6.HS code: 3204151000
7.Major usage and instruction: Be mainly used to dye cotton fabrics.


